
$59+ SHIPS FREE! (USA)
 Then, I sanded the MOP side flat with my disc sander. This ground down the excess nickel sheeting that was sticking out on the panel dividers.
 I was then able to do the whole thing over again on the other side. I trimmed up the MOP pieces to the correct dimensions, and then epoxied them in place, starting with the center piece:
 And then I put in my nickel panel dividers and epoxied in the other two panels:
 You can see the dividers sticking out. All that excess material will go away after it sets up!
 After it set up, I unclamped the scales. The epoxy set extremely solid.
 I took it to the belt sander, and flattened out the pile side scale
 After that, I used the pre-drilled holes on the front scale to drill through the pile side scale.
 I then did some more profiling with the belt sander, and when I started getting close to my original tracings, I took the original scale and I bolted it on to the the MOP scales so that I had an exact profile to match.
 You can see a little bit of excess material that I had to grind down.
 After a little more sanding, I was close to the original profile
 You can see no overhangs now :)
 Then, I spent about 30 minutes on the belt sander, very carefully and slowly thinning out the scales (they started around .125" ea, and I thinned them to approx .11"). MOP chips easily, and sands slowly, so, it was a delicate process.
 So, it was on to hand sanding. I started at 220 grit and went to town.
 With every grit, it got prettier and prettier
 After a buff, I was just stunned!
 Unfortunately, there was no time to enjoy. it was on to the next step. I started to carefully pin the panels on to the nickel liners, one hole at a time
 After each of them were pinned, I buffed up the heads on the MOP side
 Then I ran some 1000 grit sandpaper along the back side of the scales (the nickel sheeting, and then gave them a quick buff. A final buff will come later.
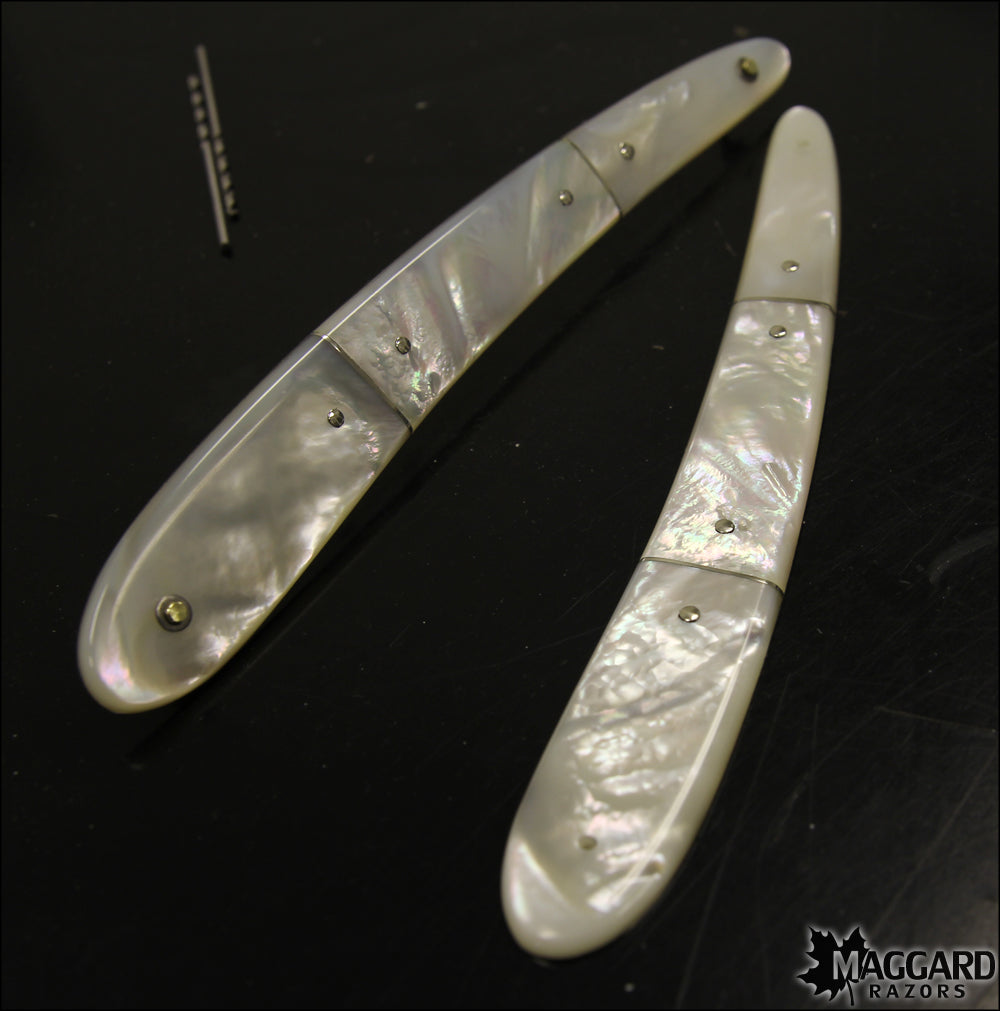
 Here is another shot, ready for pinning.
 I decided to use the original lead wedge, but, it was pretty gunky, so, I started to clean it up
 Here are the edges, polished up
 Then it was just a matter of pinning it into the wedge end of the scales
 And finally, here it is - the reason for ALL of that work - a mother of pearl scale that is capable of flexing!
 And finally, the results!

 Check out the Full Gallery!
Comments
Leave a comment